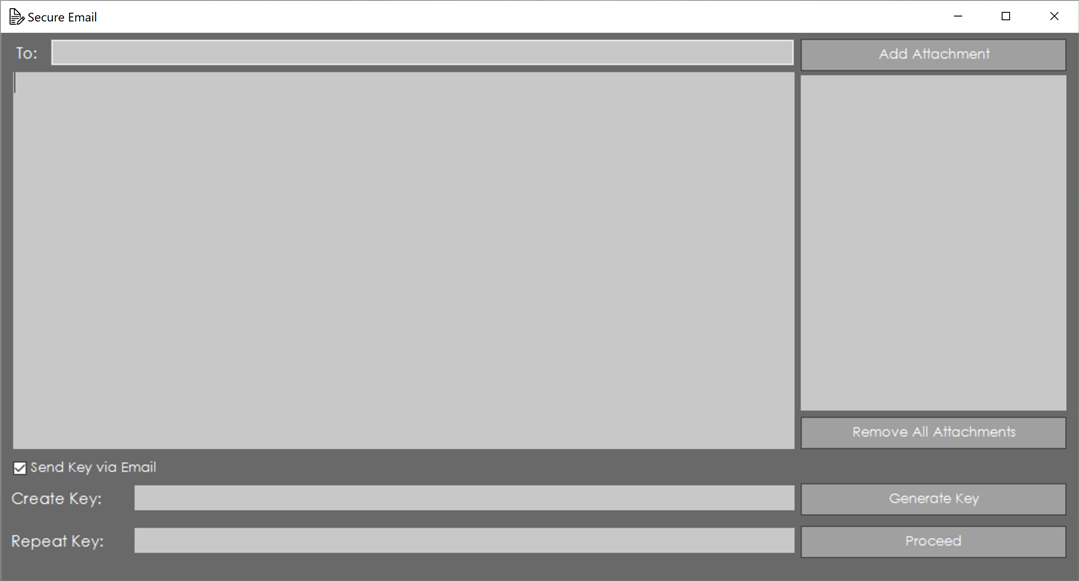
Secure Email is an Add-On for Microsoft Outlook desktop client that allows you to send 256-bit encrypted emails at no cost, and no need for receivers to click on links to a 3rd party website.
Secure Email will also password protect any attachments that are sent along with your encrypted email. PDFs and Microsoft Word and Excel files are password protected individually, all other files such as pictures or plain text files are included in a password protected zip file.
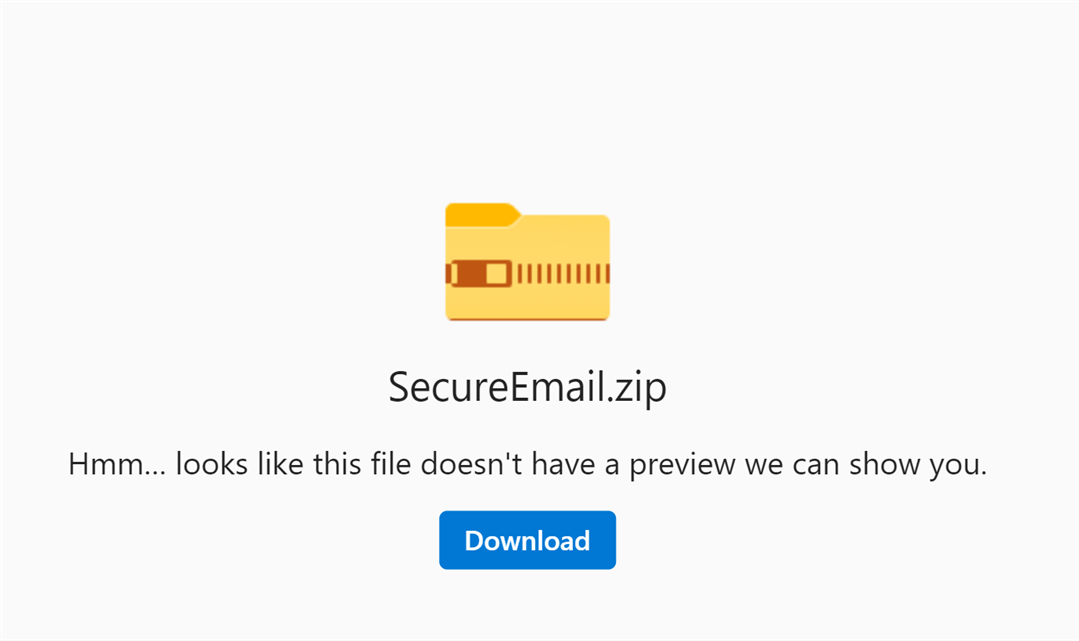
Download the zip file below.
Installation Instructions
-
First, click on the link above and download the zip file.
-
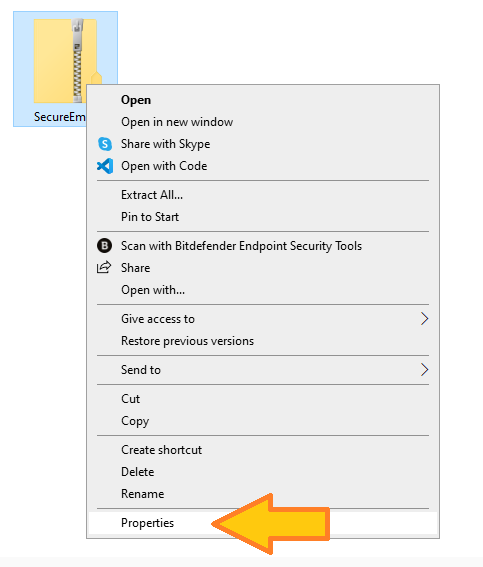
Next, locate the zip file in your downloads folder and right-click on it, then click on "Properties."
-
IMPORTANT!
When the SecureEmail Properties window opens, under the "General" tab, look down to the "Security" section, and check the "Unblock" box.
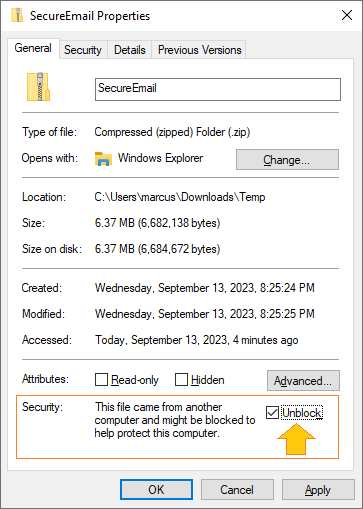
Click "OK"
-
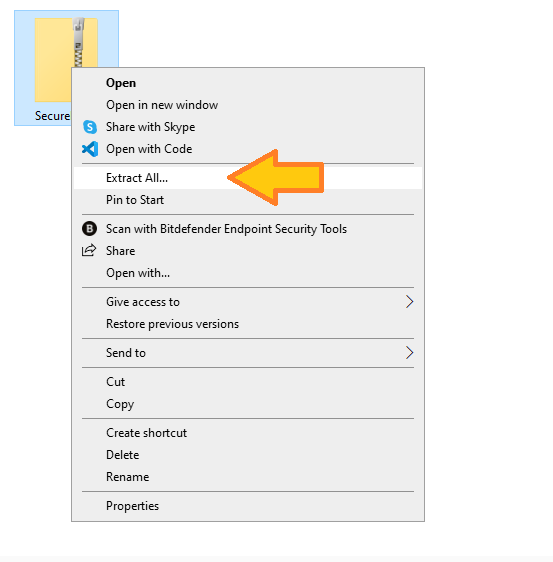
Right-click on the SecureEmail.zip file again, and then click on "Extract All."
-
Select a destination to which you will extract the installation folder.
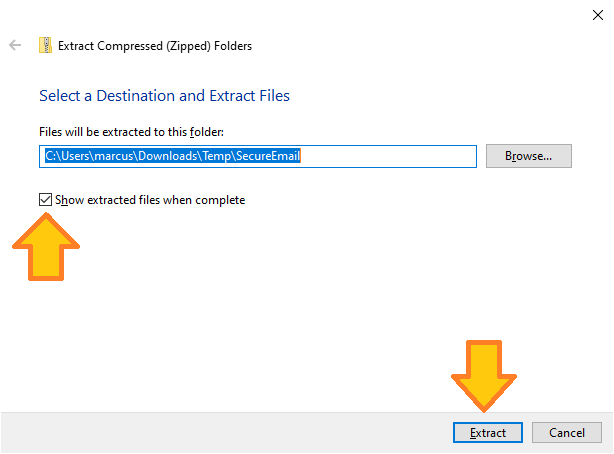
This folder can be deleted after the installation process is complete.
-
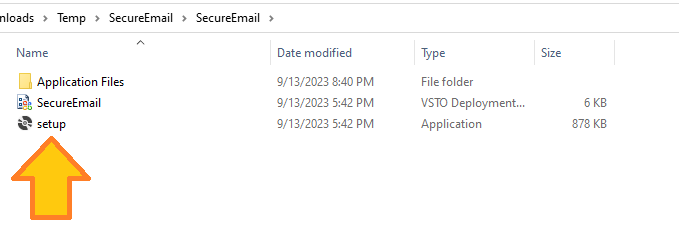
Open the folder that was just created by extracting the zip file contents, and locate the file called "setup" or "setup.exe".
-
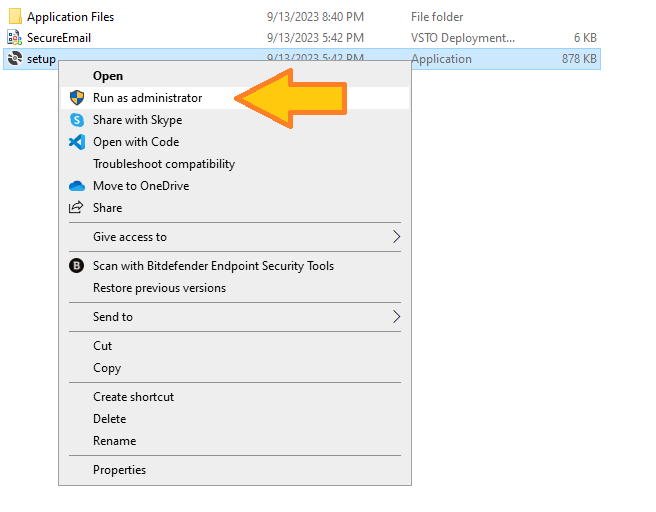
Right-click on the "setup" file, and then click "Run as administrator."
-
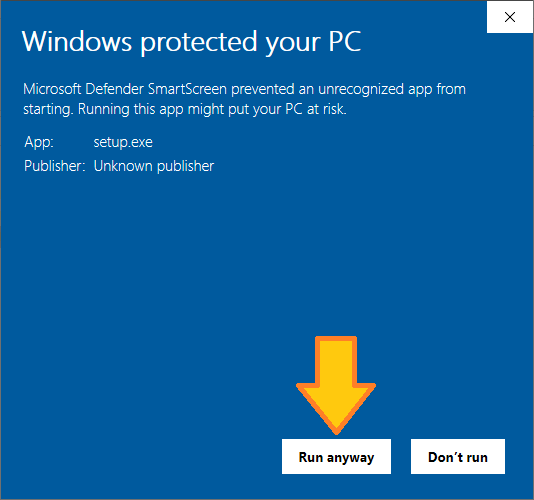
Microsoft Defender might show you the following warning:
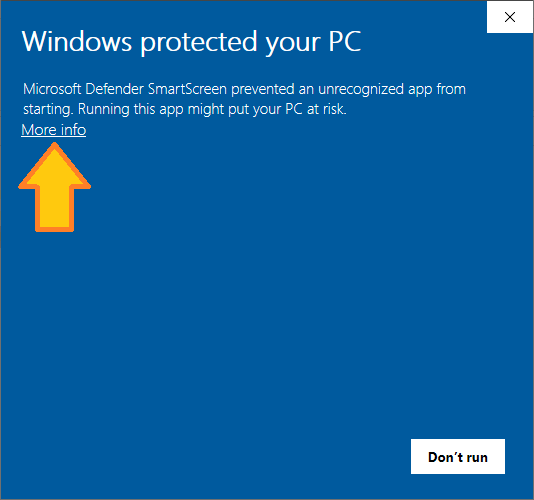
Click on "More Info", then click on "Run Anyway."
-
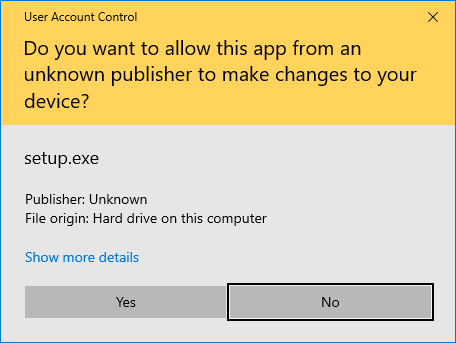
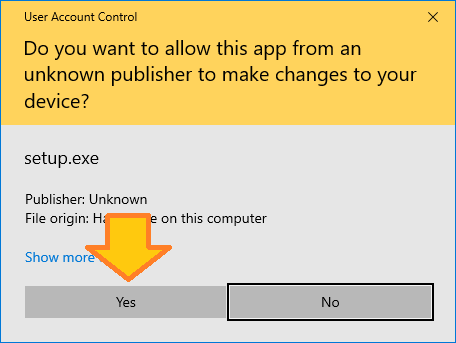
If you have User Account Control turned on, you will see the following pop-up.
-
Click "Yes."
-
The Microsoft Office Customization Installer will open and ask if you're sure you want to install.
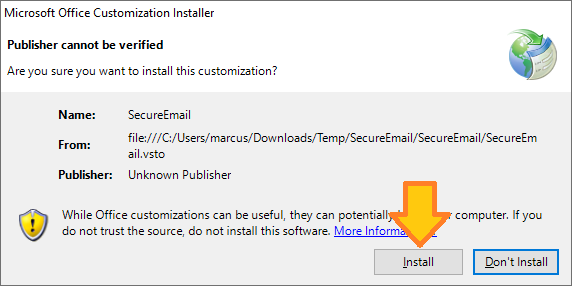
-
The Secure Email Outlook Add-On will install. When completed, you will see the following:
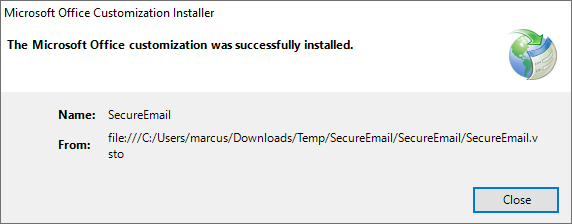
-
Open Outlook and click on the "Secure Email" tab at the top of the screen.
Click on "New Secure Message" at the top of the screen.
The first time you run Secure Email you will see the following alert:
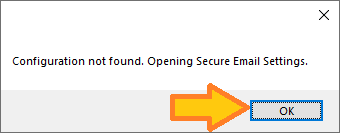
Click OK.
-
The AppSettings window will open where you can customize your email templates.
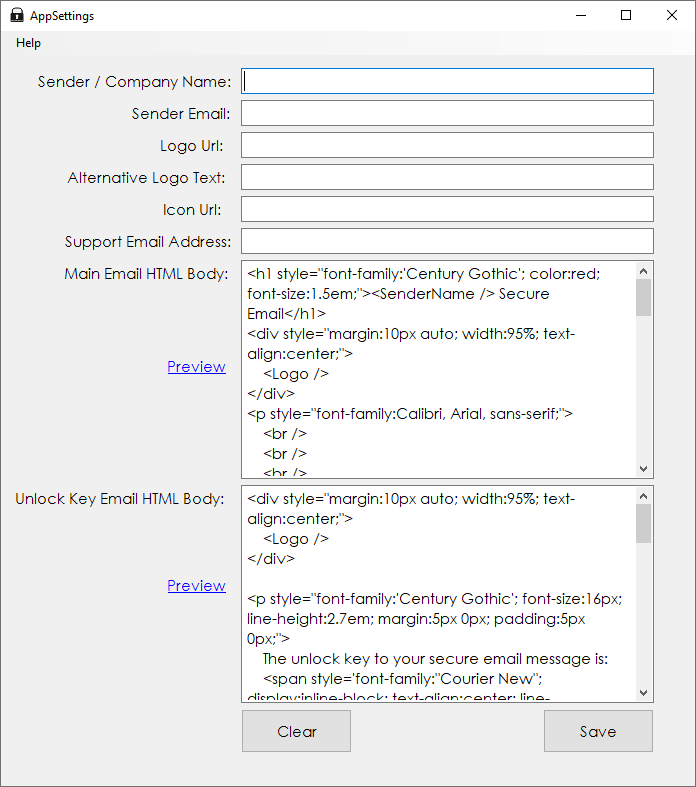
Complete the form, then click "Save."